

If you would like your kids to be excited about science and math, it is a great idea to introduce fun STEAM activities as young as possible. For most people, solving a Rubik’s cube is extremely intimidating. The algorithms can seem complex and technically complicated. Don’t be discouraged though: without knowledge of algorithms it took Erno Rubik himself an entire month to solve his own invention.
The only way to actually solve a Rubik’s Cube is to learn some algorithms. Don’t be discouraged though, it’s easier than it sounds!

The following tutorial will teach you the basic notations that you need to know in order to solve your first 3×3 cube from start to finish, plus bonus instructions for the algorithms to solve the white face. This article uses tutorials from the GoCube app, which syncs using bluetooth to a smart Rubik’s Cube. Once you know the algorithms, you will be able to solve the cube pretty quickly!
Using the GoCube simplifies your understanding of the 3D orientation, and takes you along step by step, guiding you to a complete solution.
Naming the parts on the cube
Face: There are 6 faces on a cube. The face is determined by the color of the centerpiece, which never moves.
Centerpiece: These are the center tiles, and are locked into place.
Edge piece: These are positioned between the centerpieces, and contain 2 colors.
Corner piece: The corner piece is in 3 colors. In a solved cube the corner of a face matches the centerpiece on that face.
Understanding the cube
You can solve a Rubik’s Cube using a series of movements that form algorithms. These movements are represented by 6 letters or notations. Unless instructed otherwise, always position the cube with the white face facing up.
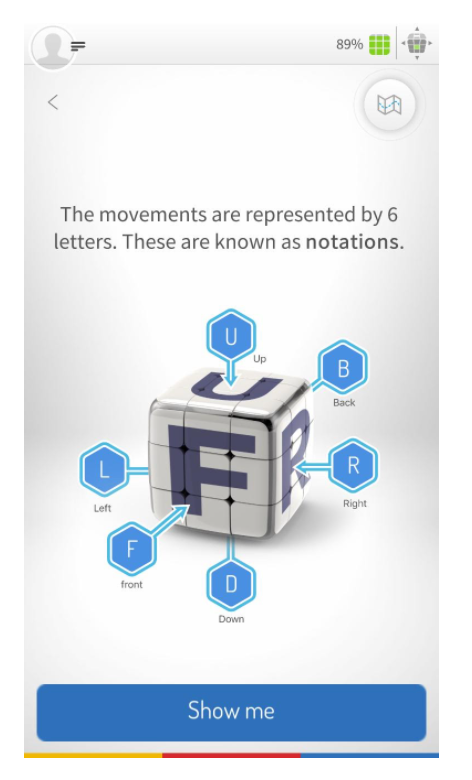
R– turn the right face of the cube clockwise
L- turn the left face of the cube clockwise
U– turn the up face of the cube clockwise
D– turn the down face of the cube clockwise
F– turn the front face of the cube clockwise
B – turn the back face of the cube clockwise
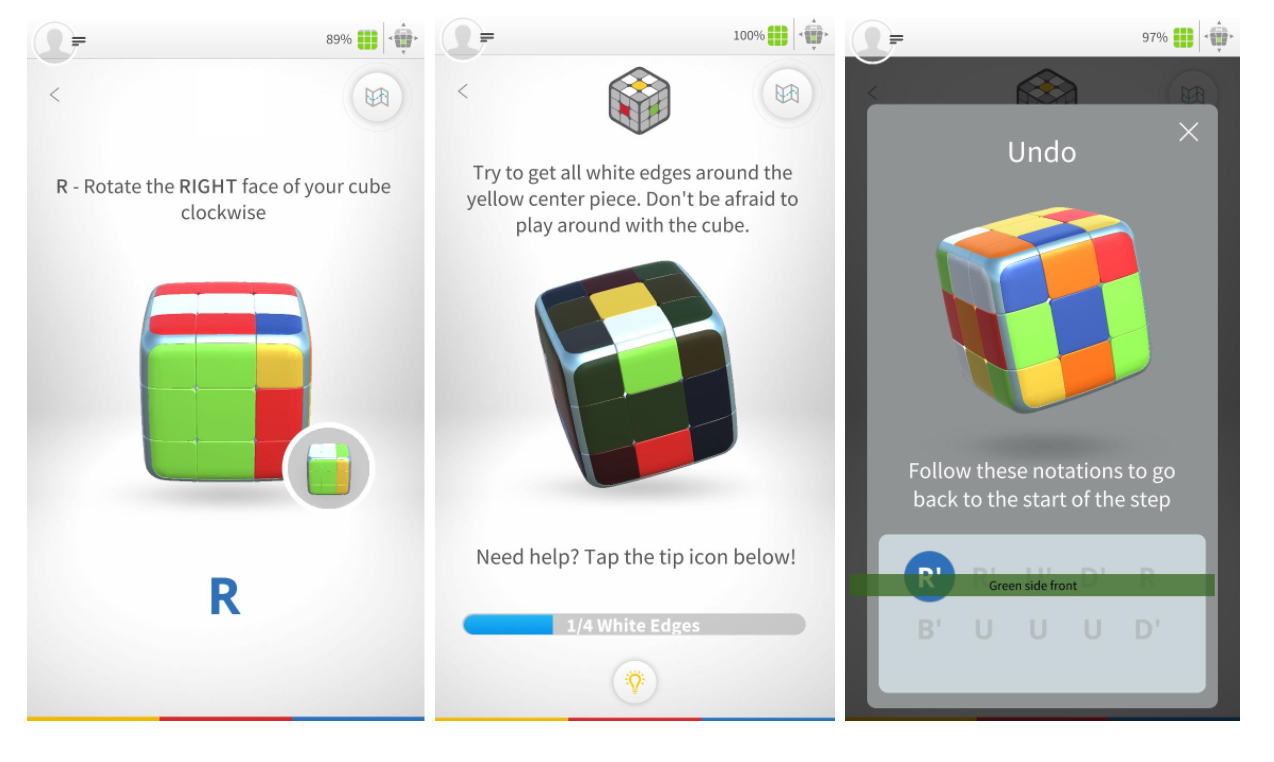
The app is fun and helps with cube orientation, in case it gets confusing or you make a mistake. There are real-time instructions, tips, and videos sprinkled throughout the tutorial to show you the moves.
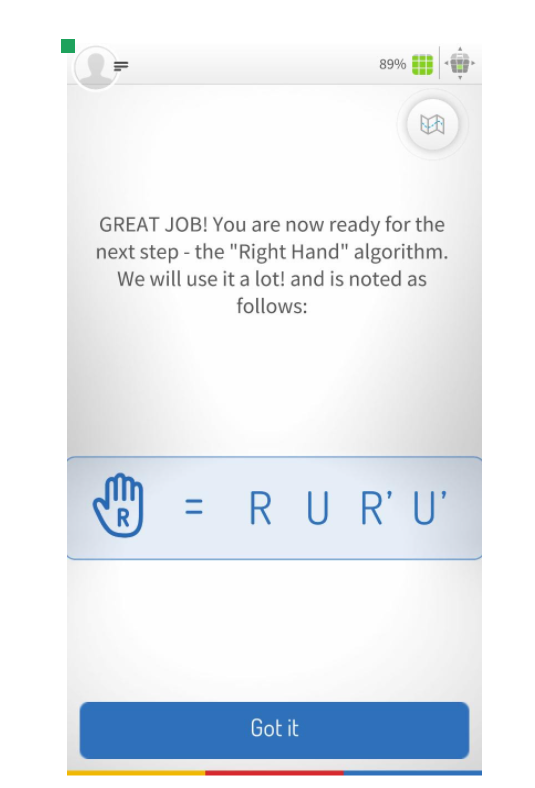
Here is an example of one of the most popular algorithms that we use to solve the cube: the “right-hand algorithm”. Try it! Did you know that if you start from a solved position and perform the right-hand algorithm six times in a row, you can completely shuffle, and then re-solve the cube in six moves?
1- Our first step in solving the cube is to build a white cross. Start by creating a daisy, in other words, four white edge pieces around the yellow centerpiece. This is largely based on trial and error, but for extra help check out this video.

2- Turn the daisy upside down to create the white cross. Place the cube where the daisy is facing up and the green-white edge is facing you. Holding the top layer in place, rotate the bottom 2 layers so the green edge is lined up with its center. Twist the front face twice to place it in the correct position in the bottom layer.
Next, perform the same steps for each of the other white edges. Keeping the white face up, rotate the cube so the next edge is facing you. Do the same step three times until you see the white cross. Check out the video.
3- Finish the white face by solving the corners. Identify a corner piece and where it should be in the solved state. You can do this by pinpointing the 2 faces it should theoretically sit between, considering we know that a face is identified by the fixed centerpiece.
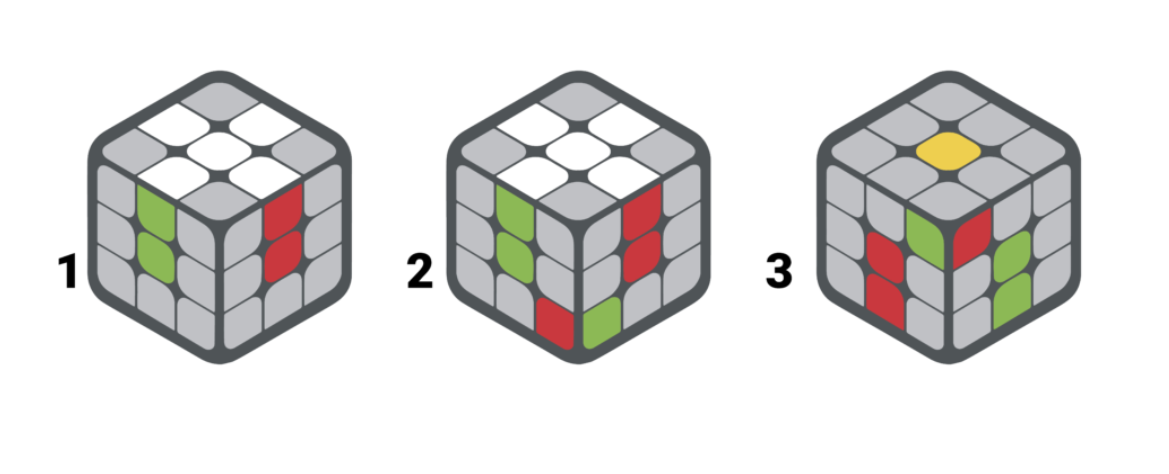
Flip your cube so yellow is facing up. Choose any corner piece in the top layer that contains white. Position the cube so the corner piece is to your right. Hold the top layer in position while you twist the bottom 2 layers. The white corner should be above its position in its finished state as shown in figure 3. Perform the “right-hand algorithm” or RUR’U’. Keep doing this move up to six times, until the corner piece is properly in place. When it is in place, find the next white corner and repeat the same step for all 3 corners. If a corner is placed correctly in the bottom layer but not yet oriented, just do the right-hand algorithm repeatedly until the corner is in place. Watch the video for extra help.
That’s it! You have completed the white face. To learn the complete step-by-step process, check out the GoCube!
To examine any book more closely at Amazon, please click on image of book.
As an Amazon Associate, I earn from qualifying purchases.
My books:

Food for the Future: Sustainable Farms Around the World
- Junior Library Guild Gold selection
- Selected as one of 100 Outstanding Picture Books of 2023 by dPICTUS and featured at the Bologna Children’s Book Fair
- Starred review from School Library Journal
- Chicago Library’s Best of the Best
- Imagination Soup’s 35 Best Nonfiction Books of 2023 for Kids
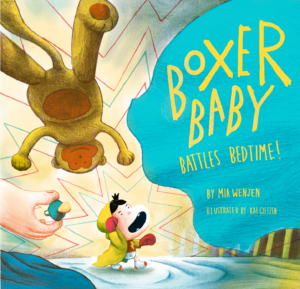
Amazon / Barefoot Books / Signed or Inscribed by Me
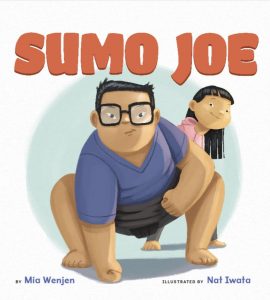
 Amazon / Scholastic / Signed or Inscribed by Me


The link for GoCube goes to a Pods-like storage company. The link you want is getgocube.com.
I don’t know if I’m thoroughly in awe of this or repelled! I can remember when the Rubik’s Cube first came out. There were kids in my high school who could solve it in minutes. Did they naturally understand these algorithms. (And why does everything have to come back to algorithms! LOL)